How to Test the Revamped gThumb 4.0 Alpha with GTK4 and Libadwaita
Introduction
If you've been following open-source image viewers, you've likely heard about gThumb – a popular tool for viewing and organizing photos. Recently, the project underwent a major transformation: it was rewritten in Vala and ported to GTK4 and libadwaita. The result? An alpha version (gThumb 4.0) that looks and feels completely different from its predecessor. This guide will walk you through everything you need to test this exciting new build, explore its modern interface, and try out fresh features like WEBP and PNG animation support, JXL export, and a censor filter. Whether you're a long-time gThumb user or just curious about the latest in GNOME app development, these steps will help you get hands-on with the alpha.

What You Need
- A Linux distribution (Ubuntu, Fedora, or any distro supporting GTK4/libadwaita)
- A working internet connection
- Basic terminal knowledge (for running commands)
- An existing gThumb installation (optional, but helpful for comparison)
- Root or sudo access (for system-wide installation or PPA)
Step-by-Step Guide
Step 1: Check Your System's Prerequisites
Before diving in, ensure your system meets the requirements. gThumb 4.0 alpha depends on GTK4 (version 4.6 or newer) and libadwaita (the GNOME design library). Most modern distros like Ubuntu 23.04+, Fedora 38+, or Arch Linux already include these. To verify, open a terminal and run:
pkg-config --modversion gtk4
pkg-config --modversion libadwaita-1
If you see version numbers, you're good. If not, update your system or install missing packages. For Ubuntu-based systems, use sudo apt install libgtk-4-dev libadwaita-1-dev. On Fedora: sudo dnf install gtk4-devel libadwaita-devel. Arch: sudo pacman -S gtk4 libadwaita.
Step 2: Download the gThumb 4.0 Alpha Build
The alpha is available from the official gThumb website or via a community PPA. For the easiest method, add the PPA (Ubuntu/Debian). Open a terminal and run:
sudo add-apt-repository ppa:ubuntuhandbook1/gthumb
alpha
sudo apt update
Alternatively, download the source tarball from GNOME GitLab (look for version 4.0-alpha). For Fedora, check Copr repositories or build from source using Meson. If you prefer the source route, follow the compilation instructions on the project page.
Step 3: Install gThumb 4.0 Alpha
If using the PPA, install with:
sudo apt install gthumbThis will replace your existing gThumb (if any). For a source build, extract the tarball, navigate into the directory, and run:
meson setup builddir
ninja -C builddir
sudo ninja -C builddir install
After installation, launch gThumb from your application menu or by typing gthumb in the terminal. If you kept the old version, you can run them side-by-side by using a Flatpak or AppImage of the alpha.
Step 4: Explore the New User Interface
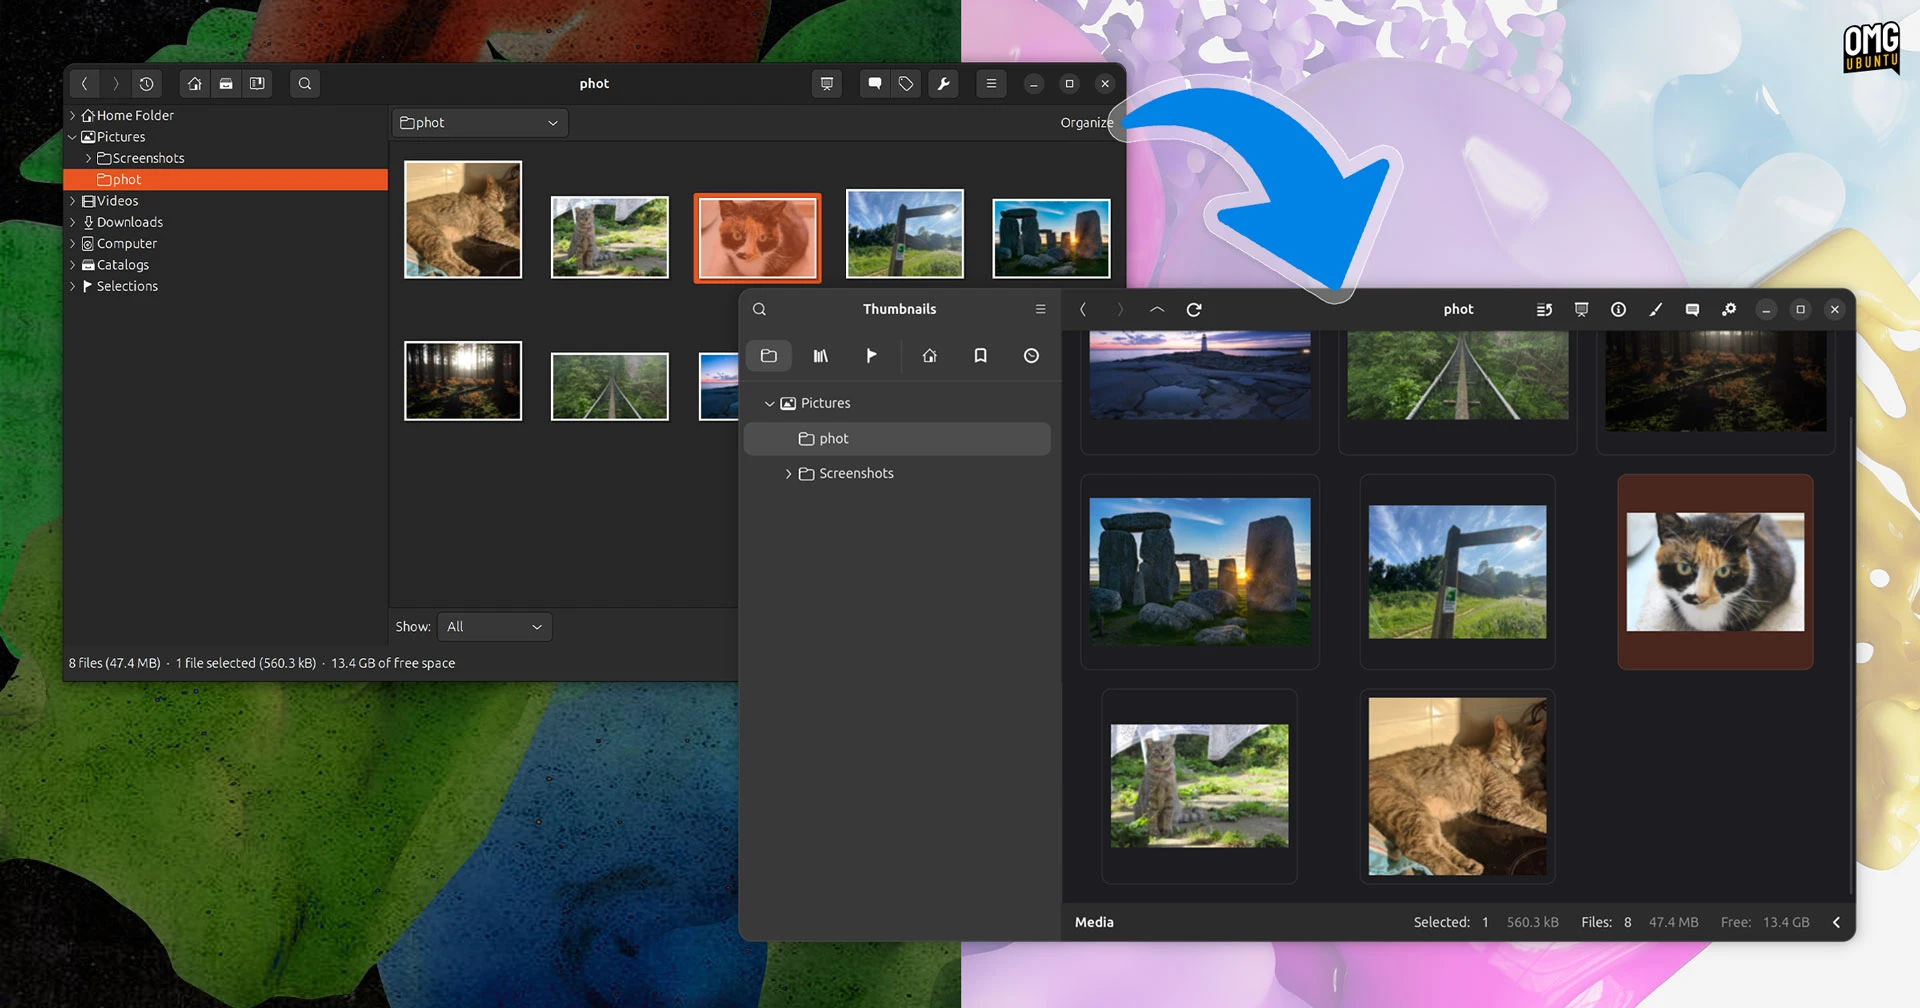
Once gThumb opens, you'll immediately notice the overhaul. The previously cluttered toolbar is gone, replaced by a clean header bar with adaptive elements. The sidebar now uses libadwaita's sleek styling, and buttons have rounded corners with smooth animations. Spend a few minutes browsing your image folders. Right-click images to see context menus – they've been redesigned with modern icons. The file chooser dialog also follows the new design language. Compare this with the old UI (if you still have it) to appreciate the visual transformation.
Step 5: Test New Image Format Support
gThumb 4.0 now supports WEBP and PNG animations (APNG). Find a WEBP image or an animated PNG online and open it in gThumb. The viewer should render animations smoothly. To test export capabilities, open any image and go to File > Export. You'll see JXL (JPEG XL) as an option – try exporting a high-resolution photo to JXL and compare file size with original JPEG. Also, look for the censor filter under Tools > Filters – you can pixelate or blur selected areas of an image. This is handy for privacy redaction.
Step 6: Provide Feedback and Report Bugs
Since this is an alpha release, you may encounter crashes or glitches. Help the developers by reporting issues. Go to Help > Report a Problem in the app, or visit the GNOME GitLab issue tracker. When reporting, include your system details, the version of gThumb (check in About), and steps to reproduce the bug. You can also join the gThumb mailing list or chat room to discuss your experience.
Tips for a Smooth Testing Experience
- Back up your old configuration: The alpha might overwrite settings. Copy
~/.config/gthumb/to a safe location before installing. - Use a virtual machine: If you're worried about stability, test the alpha in a VM or container (like Podman).
- Keep the original installation: Install the alpha as a Flatpak from the GNOME nightly repo to avoid conflicts.
- Check for updates: The alpha is rapidly evolving. Revisit the download page weekly for newer builds.
- Don't rely on it for production: Alpha software can lose work. Use it only for evaluation.
- Experiment with the censor filter: Try both pixelate and blur modes on faces or license plates – the results are impressive.
- Share your findings: Post screenshots on social media or forums to generate buzz and attract testers.
By following these steps, you'll experience first-hand how gThumb has been reborn with GTK4 and libadwaita. The visual revamp makes it feel like a completely new application, yet it retains the powerful organizational features that made it a favorite. Happy testing!